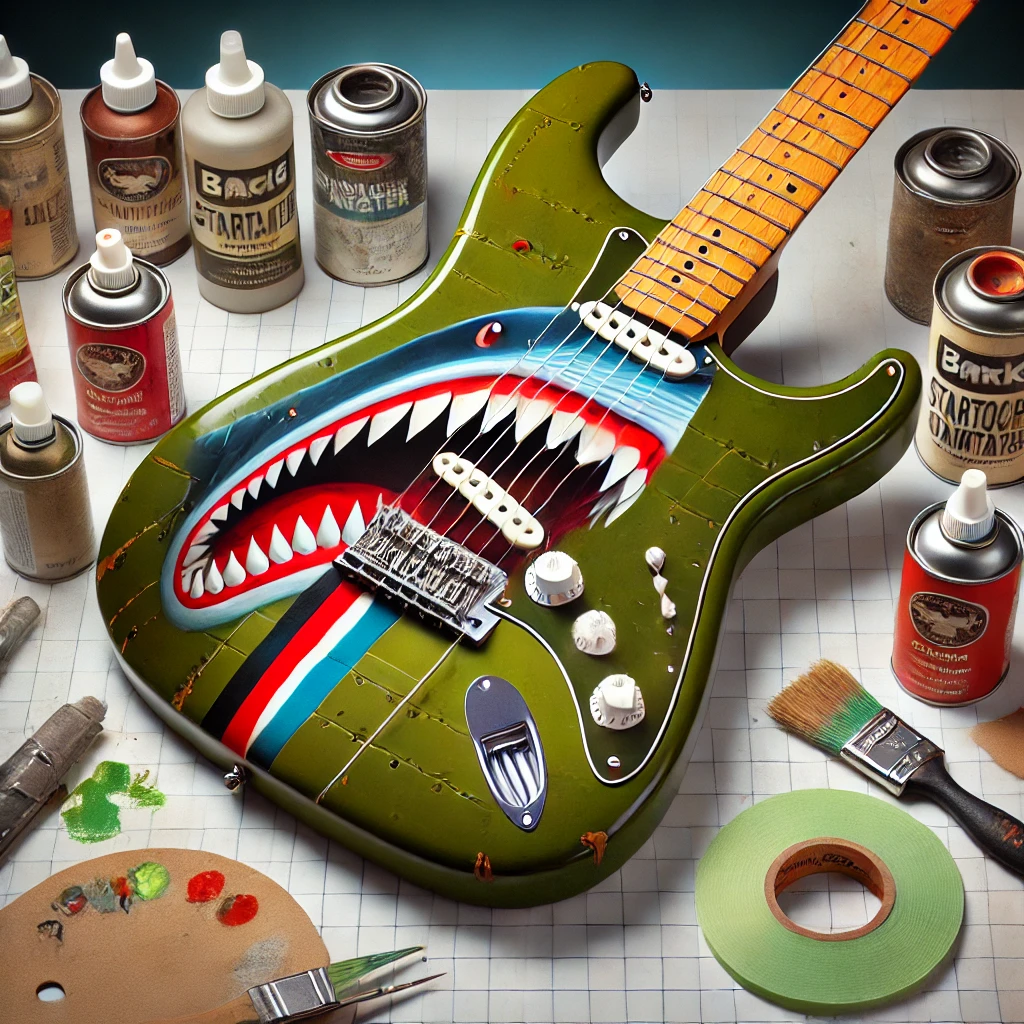
Revamping a guitar with a custom paint job is a rewarding way to breathe new life into an instrument, adding a personal touch that makes it truly yours. One of the most iconic designs to consider is the P40 Stratocaster paint job, inspired by the shark-mouth artwork of World War II fighter planes. This guide provides a detailed, step-by-step approach to achieving a professional-looking P40 Stratocaster paint job.
Materials Needed
Before diving into the project, gather all the necessary tools and materials:
- Guitar Body: A Stratocaster body (prepped or raw wood).
- Sandpaper: 220-grit, 400-grit, and 800-grit.
- Masking Tape: High-quality painter’s tape.
- Primer: Automotive or guitar-specific primer.
- Acrylic Spray Paints: Olive drab green, gray, red, white, black, and yellow.
- Clear Coat: Gloss or matte finish, depending on your preference.
- Stencil Material: Adhesive vinyl or cardstock for custom designs.
- Paintbrushes: Various sizes for detail work.
- Polishing Compound: To achieve a smooth, glossy finish.
- Protective Gear: Gloves, goggles, and a mask.
- Work Area Setup: A well-ventilated space with drop cloths and a stand for the guitar body.
Step 1: Prepare the Guitar Body
Proper preparation is key to achieving a flawless finish.
Remove Hardware: Unscrew and remove all guitar hardware, including the neck, pickups, bridge, and strings. Label and store components safely.
Strip Existing Paint: If the guitar is already painted, use a chemical stripper or sandpaper to remove the old finish. Ensure the surface is smooth and free of debris.
Sand the Surface: Begin with 220-grit sandpaper to remove imperfections.
Step 2: Apply Primer
Primer ensures better paint adhesion and a uniform finish.
Mask Off Areas: Use masking tape to protect areas you don’t want to paint, such as the neck pocket and control cavities.
Apply the Primer: Once dry, lightly sand with 800-grit sandpaper to smooth the surface.
Step 3: Base Coat Application
The base coat establishes the primary color scheme of your P40 Stratocaster.
Apply Olive Drab Green: Use multiple thin coats for even coverage, allowing 20-30 minutes between coats.
Let it Cure: Allow the paint to cure for 24 hours before proceeding.
Step 4: Design the Shark Mouth Artwork
The shark-mouth design is the centerpiece of the P40 Stratocaster.
Create Stencils: Use adhesive vinyl or cardstock to cut out shapes for the shark mouth, teeth, and eyes.
Mask and Paint: Paint the teeth white, the mouth red, and the eye black.
Add Highlights: Use gray and yellow paint to add shadows and highlights for a three-dimensional effect.
Step 5: Add Details and Weathering Effects
Adding weathering effects gives the guitar an authentic, vintage look.
Weathering Technique: Use a dry brush with gray and black paint to create scratches, scuffs, and wear marks.
Apply Decals: Consider adding small decals, such as military insignias or serial numbers, for authenticity.
Step 6: Apply the Clear Coat
The clear coat protects your paint job and enhances its appearance.
Choose Finish Type: Decide between a glossy or matte finish based on personal preference.
Spray the Clear Coat: Apply thin, even coats, allowing 30 minutes of drying time between each.
Let it Cure: Allow the clear coat to cure for 48-72 hours in a dust-free environment.
Step 7: Polish and Reassemble
The final steps bring everything together for a polished look.
Polish the Surface: Use a polishing compound to buff the clear coat until it shines.
Reassemble the Guitar: Carefully reinstall the hardware, including pickups, bridge, and strings.
Tips for P40 Stratocaster Paint Job Success
Practice First: Test your painting techniques on a scrap piece of wood before working on the guitar.
Patience is Key: Allow sufficient drying and curing time at every step to avoid smudges or imperfections.
Work in a Clean Environment: Minimize dust and debris to achieve a professional finish.
Conclusion
Transforming a Stratocaster into a P40-themed masterpiece is a challenging yet gratifying project. With attention to detail and patience, you can create a guitar that’s not only a functional instrument but also a stunning piece of art. Whether you’re a seasoned painter or a first-time DIY enthusiast, following this step-by-step guide will help you achieve a flawless P40 Stratocaster paint job that turns heads and inspires admiration.
